Introduction
Many types of people are using virtualization on local devices. For organizations that use Windows 365 Enterprise, Nested virtualization is now available. This empowers users to create virtual instances on their Cloud PC as they would on their local device. Users can use the following systems with this new feature:
- Windows Subsystem for Linux (WSL)
- Windows Subsystem for Android
- Sandbox
- Hyper-V
In this article, I will go through the requirement for nested virtualization on Cloud PC and how to get started with it by enabling Hyper-V.
Requirements
To use nested virtualization on a Cloud PC, you must meet some requirements. Below I have listed the current requirements, in the future, you can keep track of the changes here.
Region support
Your cloud PC must be deployed in one of the regions below. Other regions are currently not supported but will be in time.
US East
US East 2
US West 3
US South central
Australia East
Europe North
Europe West
UK South
Canada Central
India Central
Japan East
France Central
Cloud PC Size
Your cloud PC must have 8vCPU and 32GB Ram.
Resizing from a lower Spec to the required is not supported.
If you have deployed your Cloud PC before April 5th, 2022, you must reprovision the Cloud PC.
Enable Hyper-V Feature
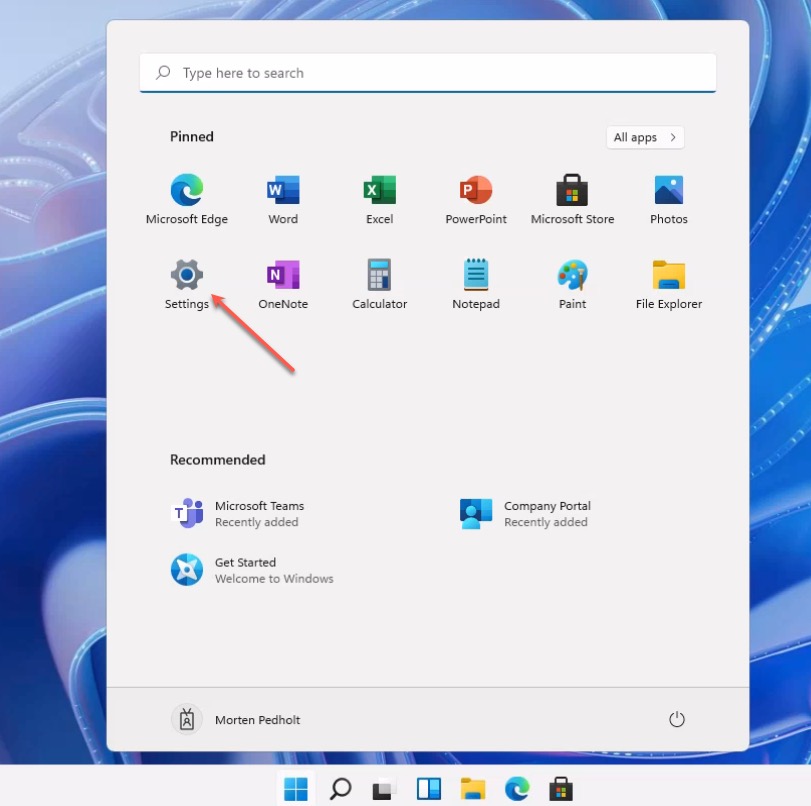
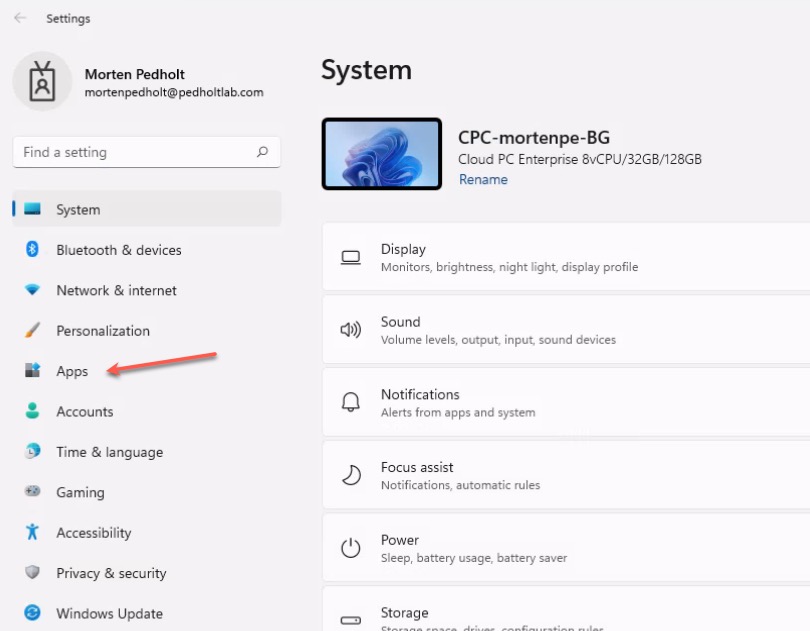
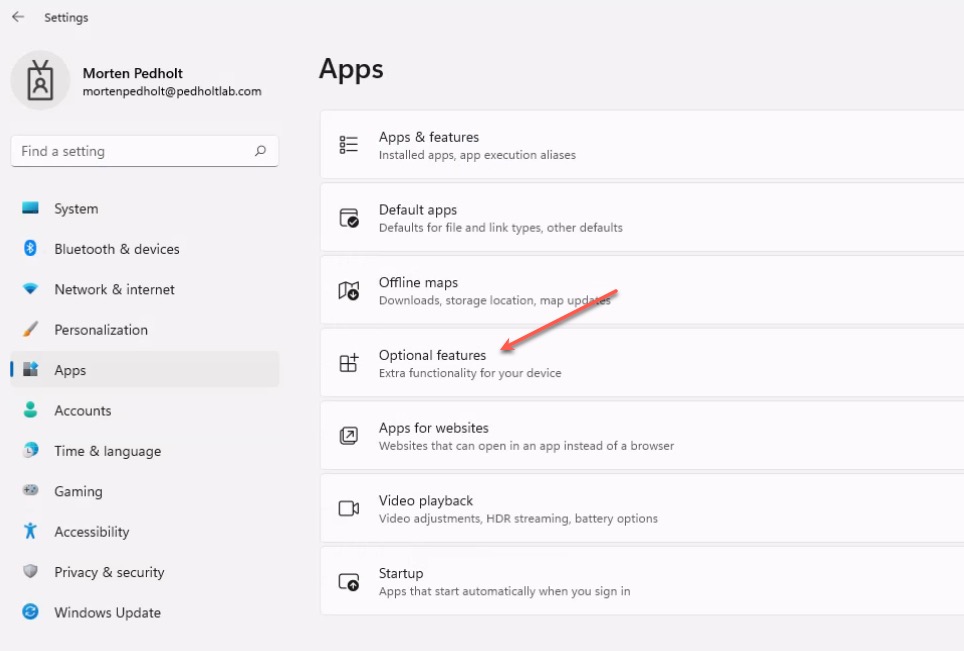
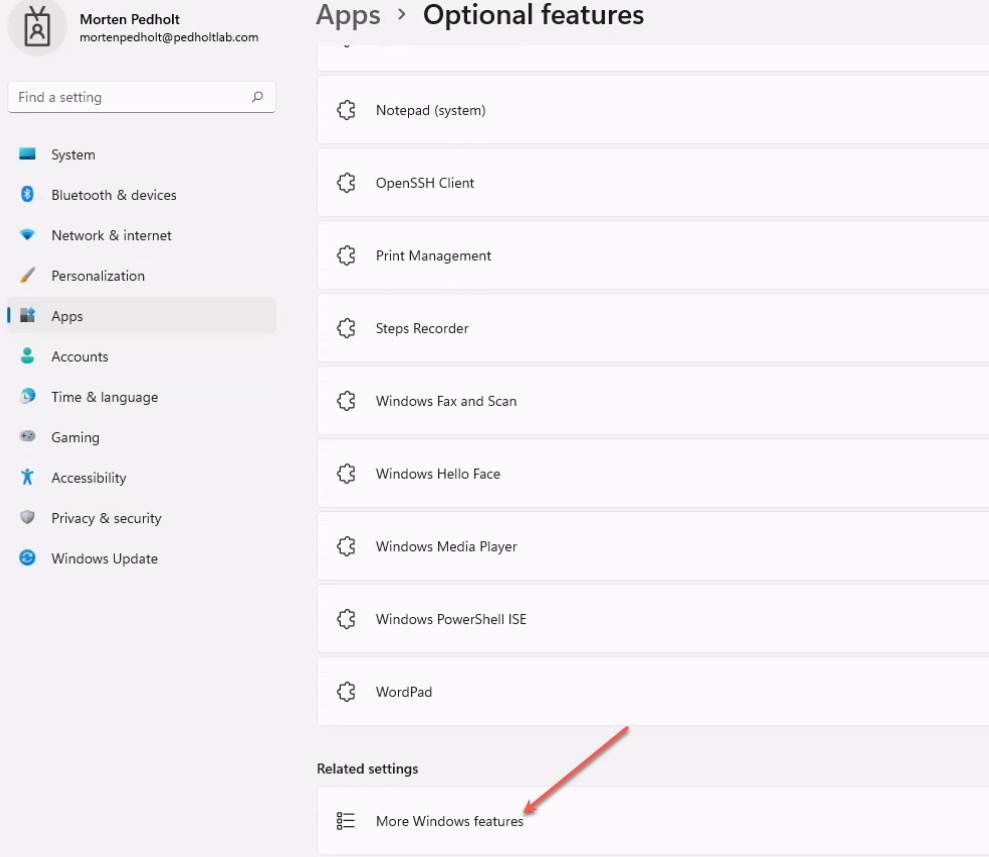
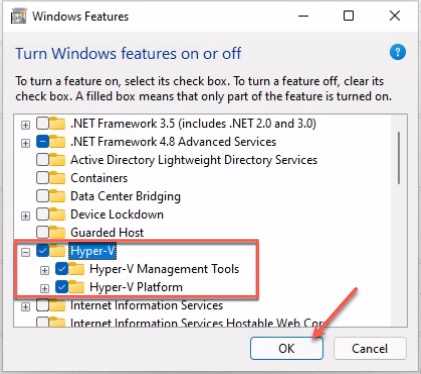
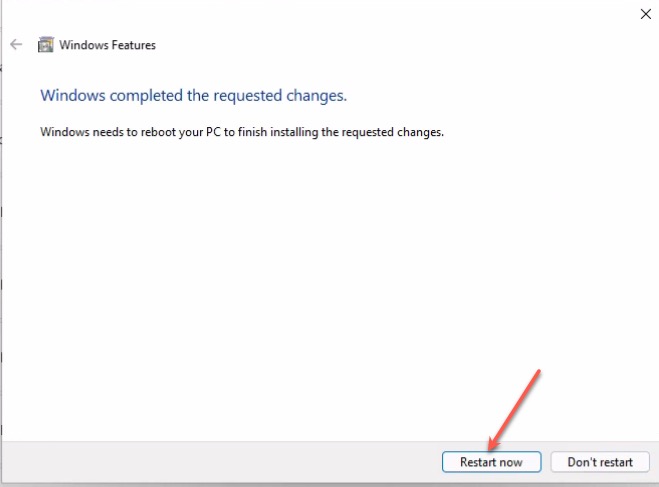
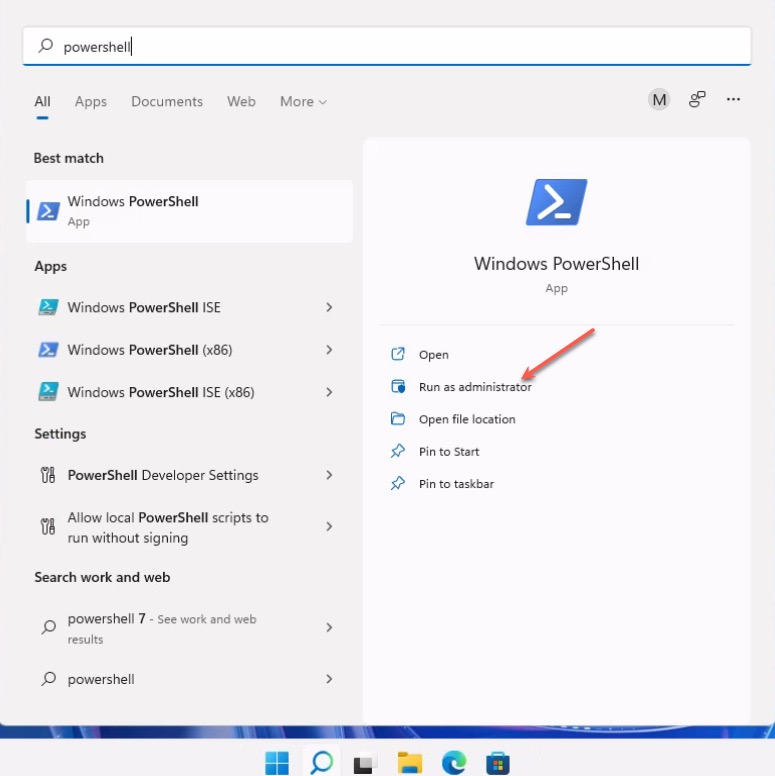
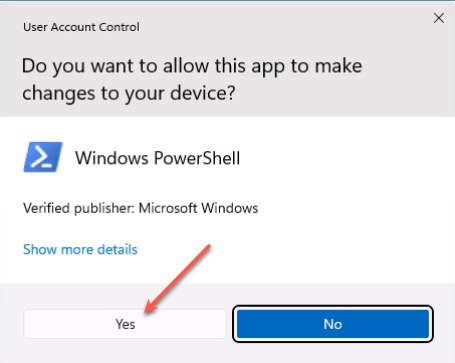
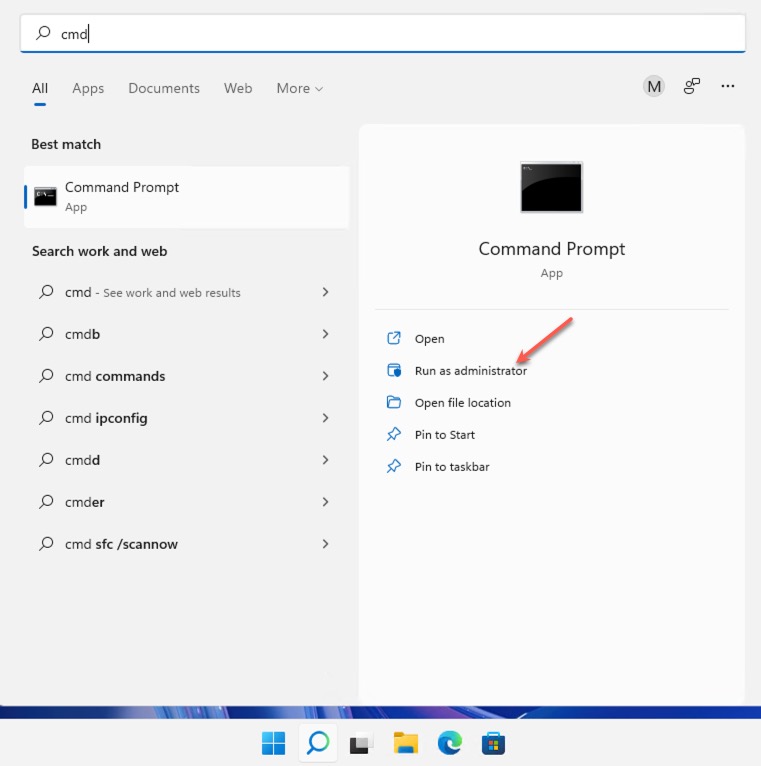
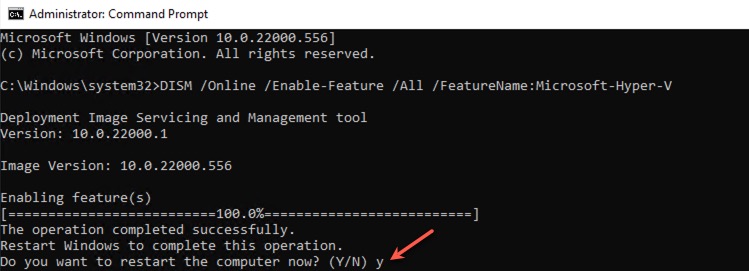
Hyper-V is not enabled by default. You can enable Hyper-V with PowerShell, DSIM, or by doing it through settings. All the options are listed in the tables below.
Final Thoughts
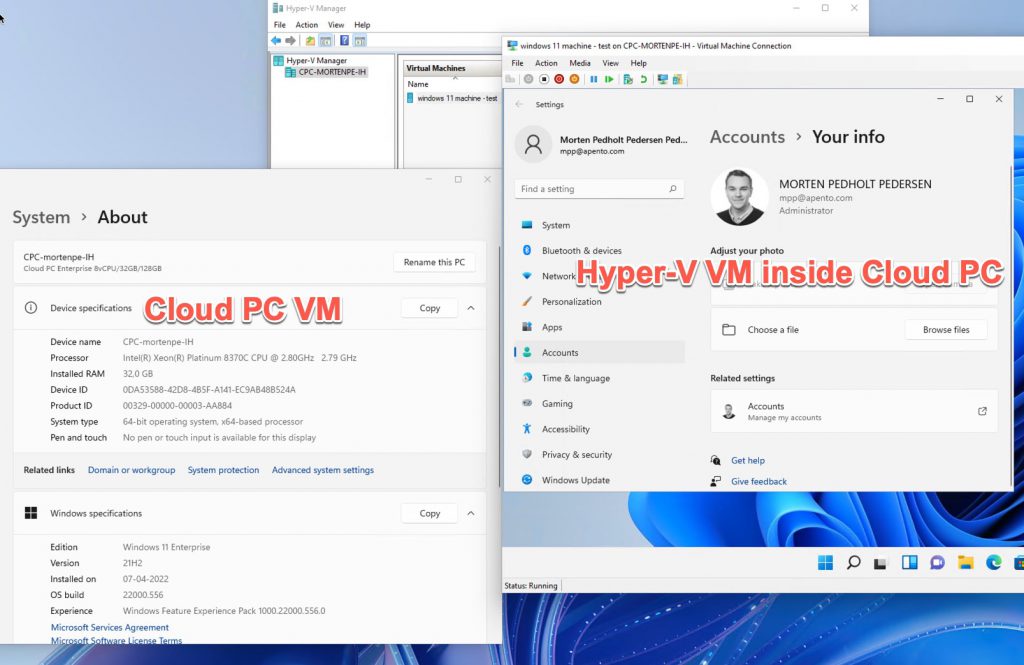
Nested virtualization is a welcome feature. There are many use case scenarios for it. I will use it to do some Endpoint Manager testing. Instead of having physical devices, I can now have virtual machines inside my virtual Cloud PC. As you can see below, I have created a Windows 11 virtual machine and successfully joined it to Azure Active Directory so that I can do my testing.
