
Introduction
Windows 365 Enterprise can be used with predefined Windows 10/11 images, but you can also use a custom image when deploying cloud PCs to users. This might be a good idea if you wish to preconfigure something in the image before deploying.
In this blog article, I’ll go through creating, uploading, and deploying a custom image to Windows 365 Enterprise.
Table of content:
Create Azure VM
Customize and create the image
Upload image to Windows 365
Deploy Cloud PC with custom image
Final thoughts
Create Azure VM
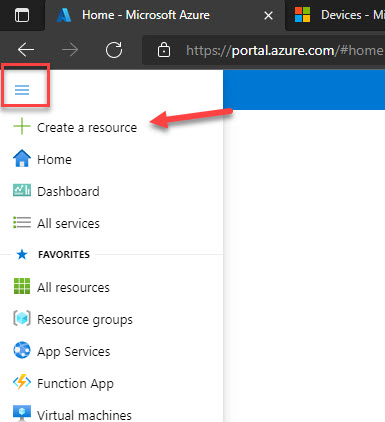
Login to https://portal.azure.com with your administrator account that has access.
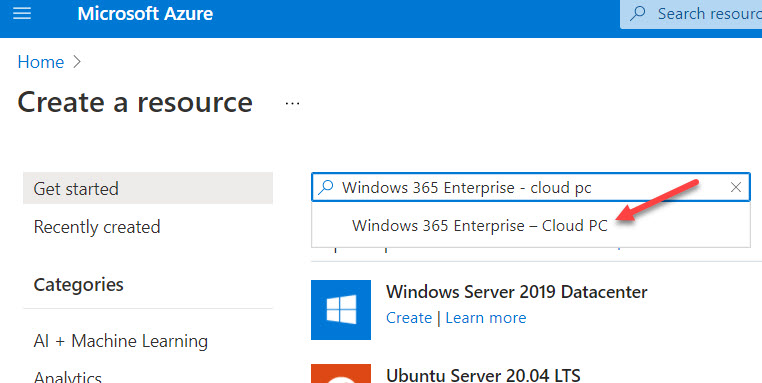
Search and choose Windows 365 Enterprise – cloud PC under Create a resource.
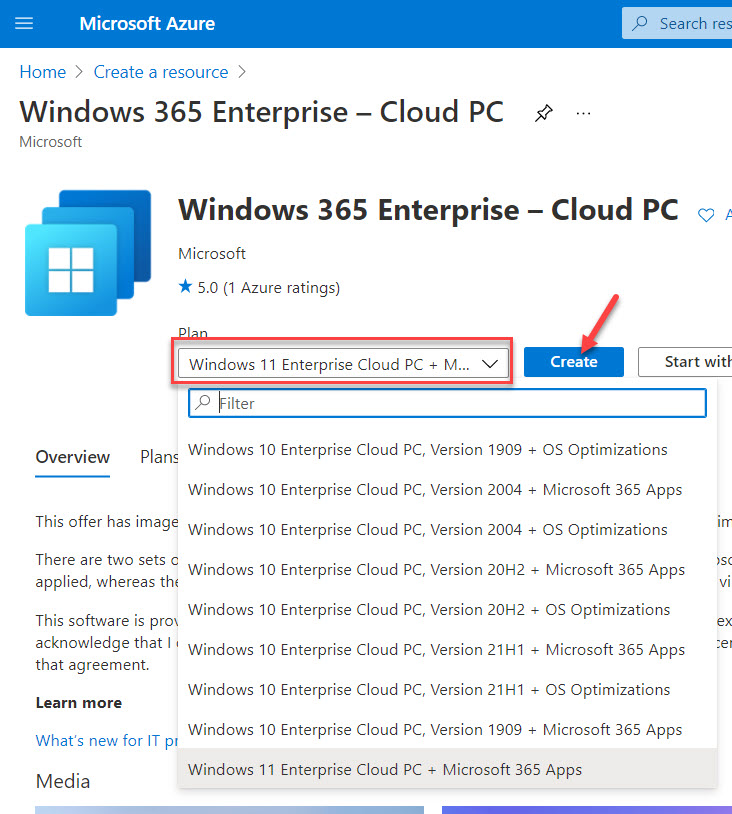
Choose either Windows 10 or Windows 11 to create the custom image from and click on Create. I’ll choose Windows 11 for now.
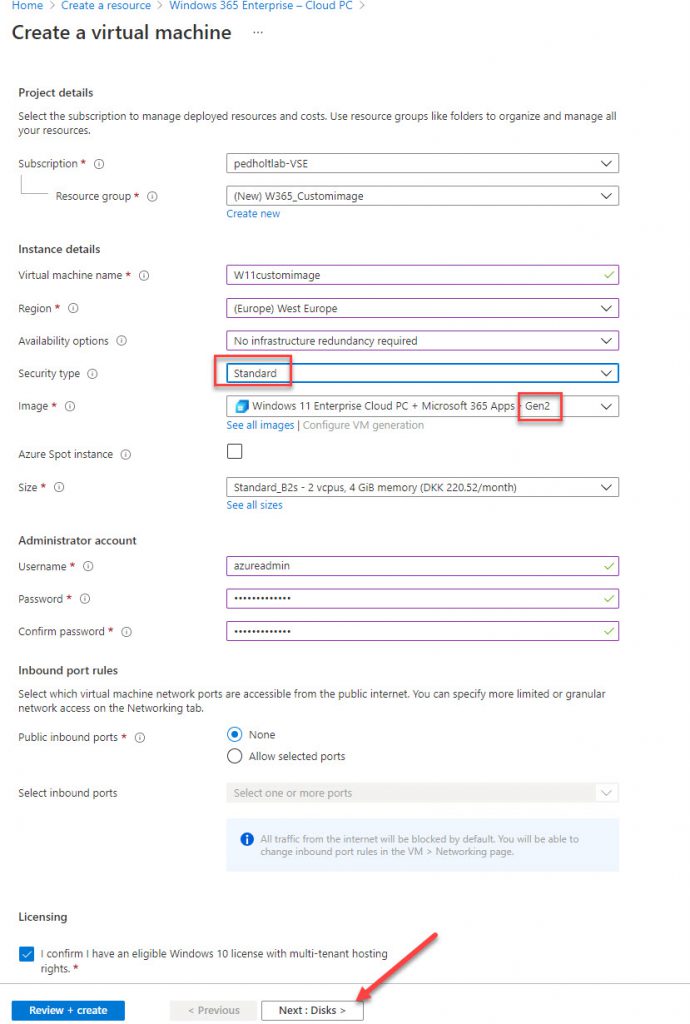
It’s now time to specify the virtual machine Name, Region, Size, Availability, Security type, etc.
When all the required fields have been filled out, click Next.
It’s important to set the Security type to Standard. You will not be able to create an Image from an Azure VM if the security is set to Trusted Launch. Furthermore, control the image is set to Gen2. Windows 365 only supports Generation 2 VMs.
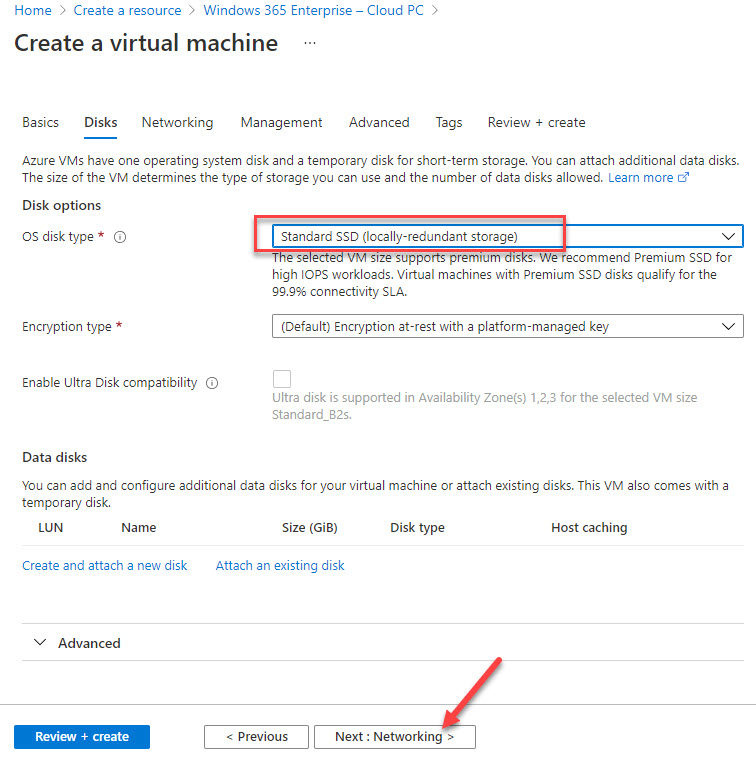
Specify the virtual machine OS disk and click Next.
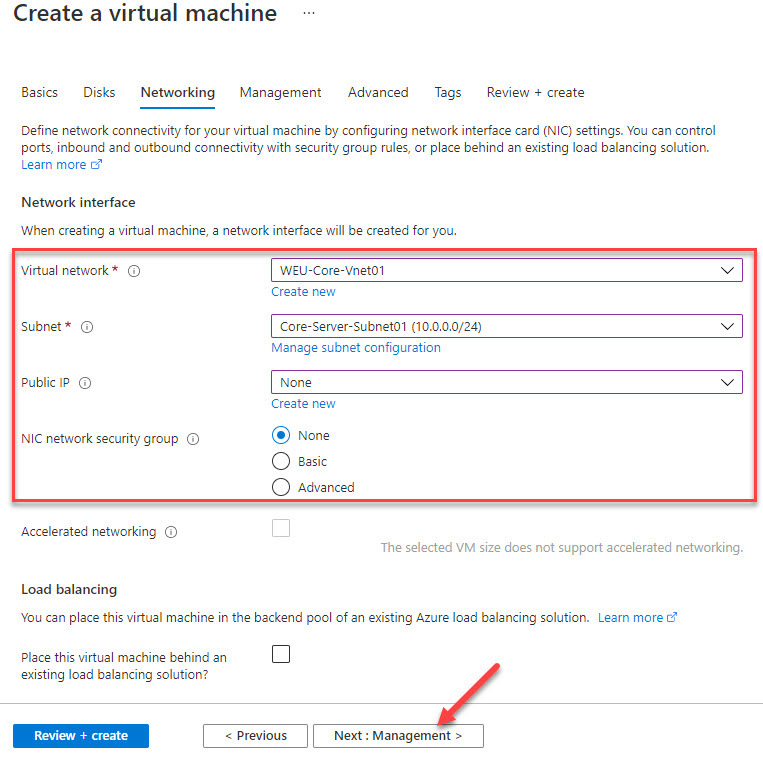
Create a new virtual network or choose an existing one where the virtual machine will be connected to. When done, click Next.
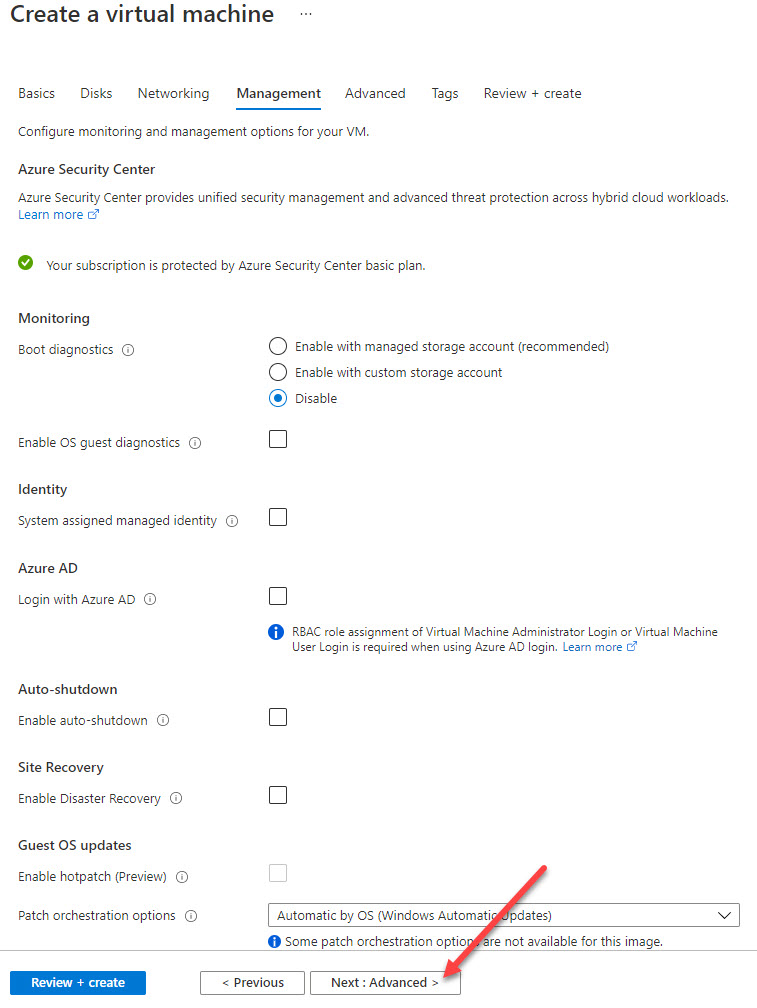
Choose the options you need in the Management tab and click Next.
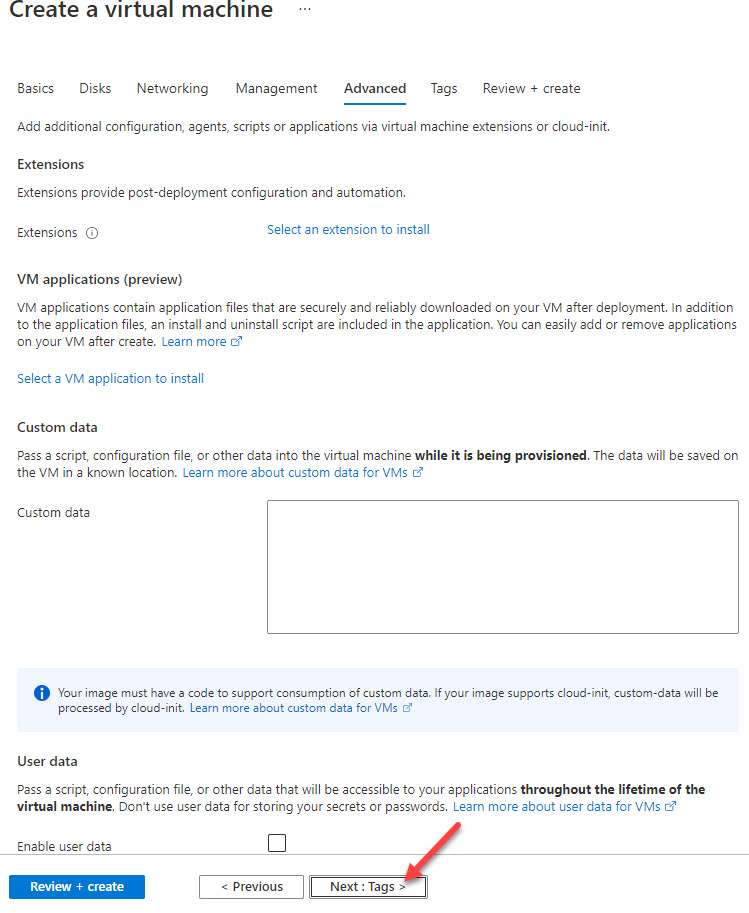
Choose the options you need in the Advanced tab and click Next.
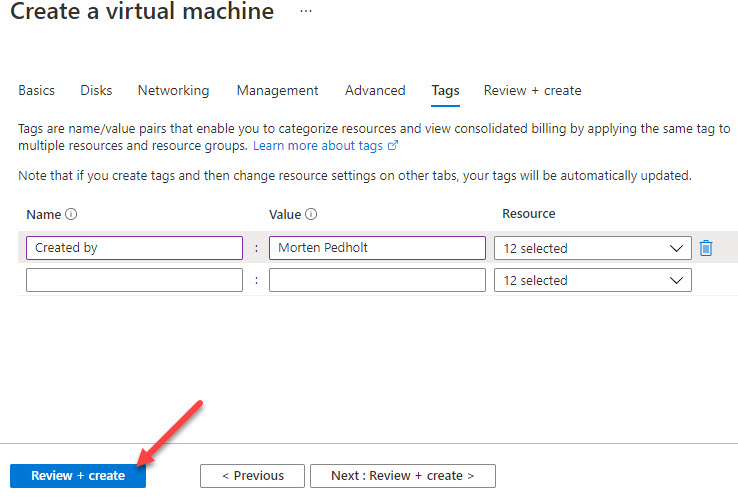
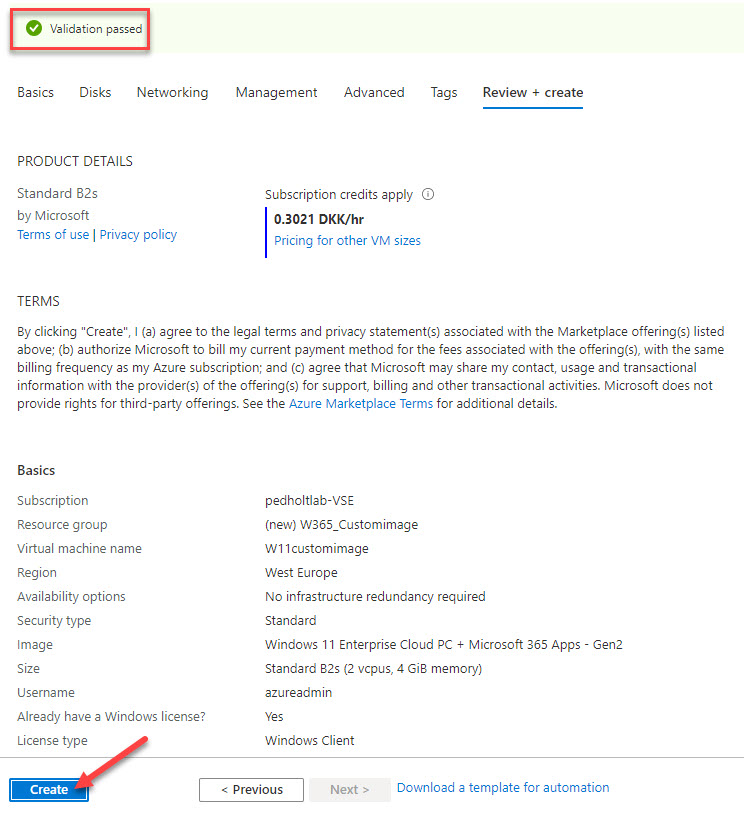
Specify Azure Tags if any needed. Click on Review + Create. When the validation is OK, click on Create.
Customize and create the image
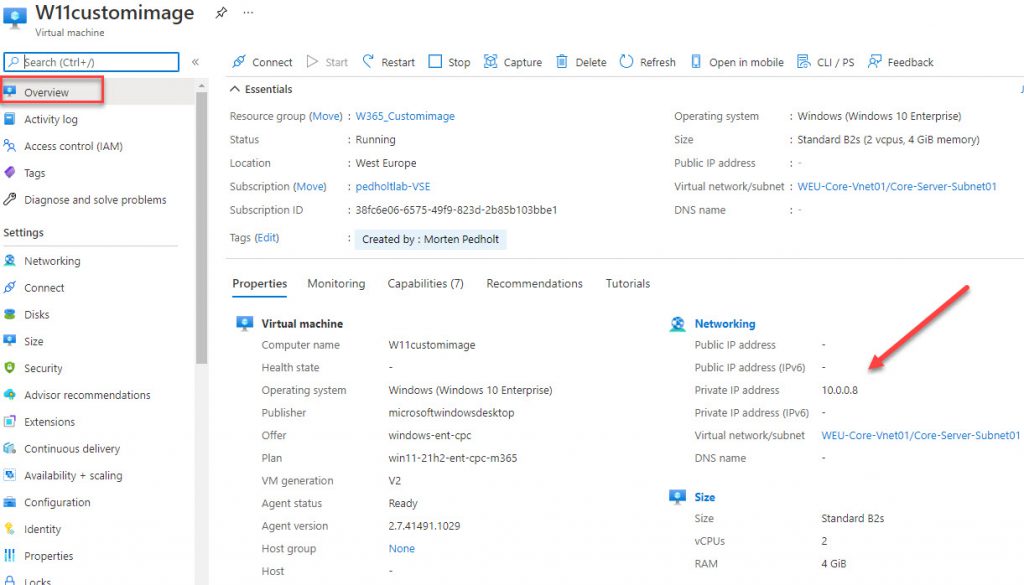
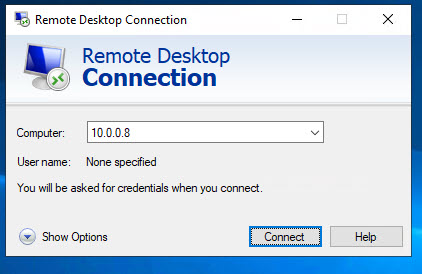
When the virtual machine has been created, go to the virtual machine overview to view its IP address. Open Remote Desktop Connection and connect with the local administrator you created earlier.
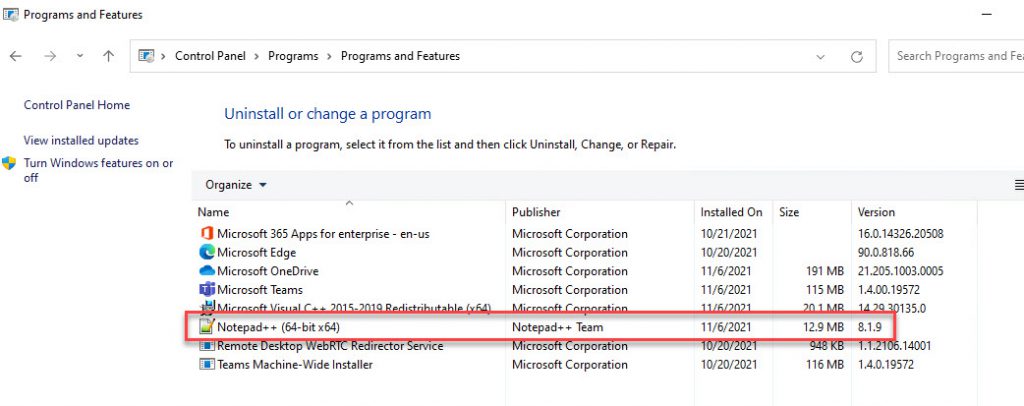
When connected, go ahead and do the customization you want, like install programs, languages, updates, etc. For the demonstration purpose, I will install Notepad++.
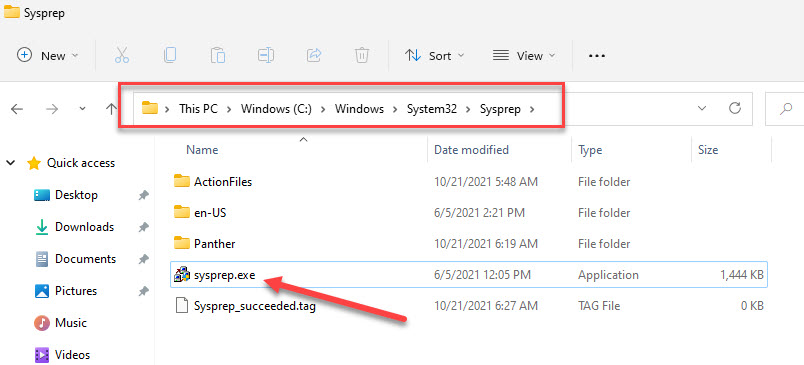
Next, run Sysprep on the virtual machine. Go to C:\Windows\System32\Sysprep and run Sysprep.exe as Administrator.
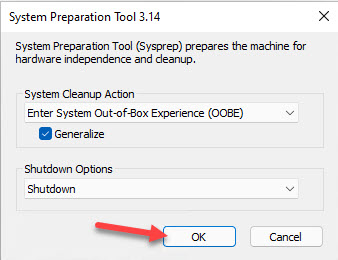
In the System Preparation Tool, set the properties like the picture below and click on OK.
It will now begin to generalize the image. Your remote connection will be closed.

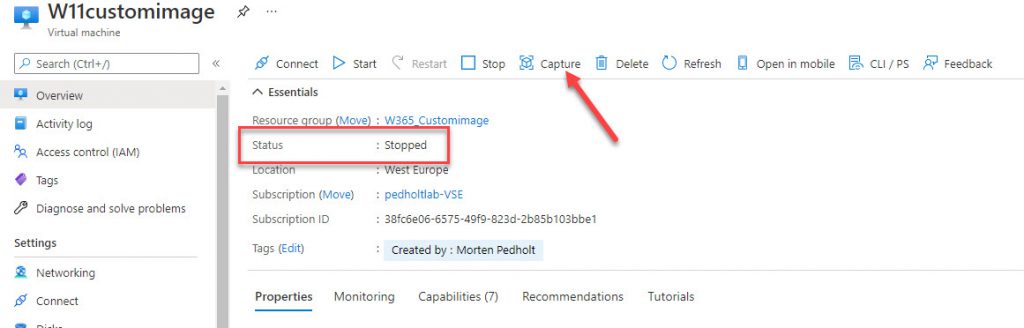
Wait for the Status to be Stopped in the virtual machine Overview page in the Azure portal.
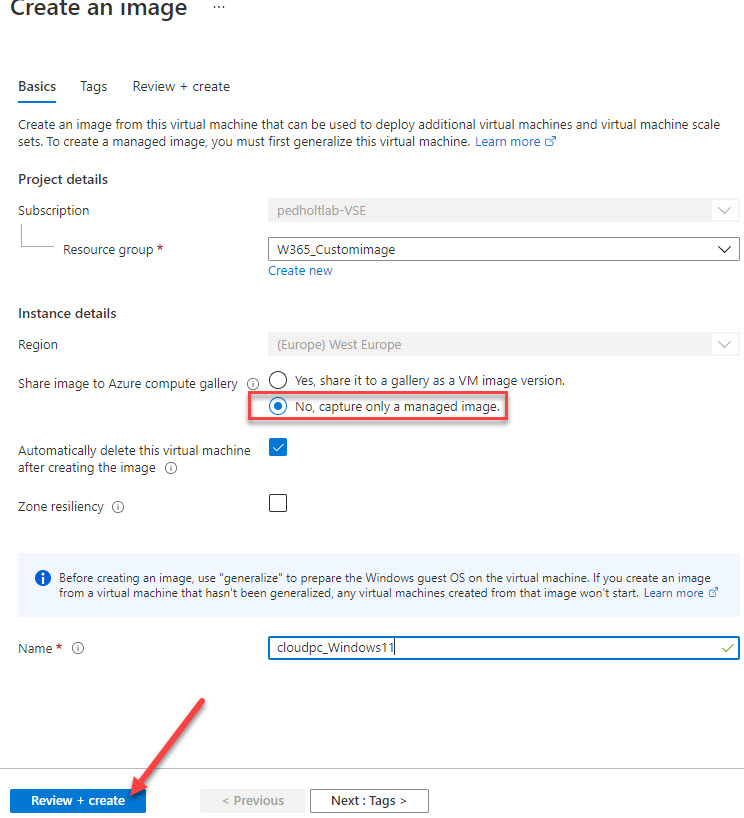
Once it is done, go ahead and create the Azure image. Start by selecting Capture.
Choose a Resource group where the image will be created in and specify a name for the image. Make sure to select No, capture only a managed image. Windows 365 isn’t able to use images inside a Shared Image Gallery (SIG). When done click Review + create.
After the image has been “captured” the virtual machines resources will not be usable. You can either delete them afterwards or by select Automatically delete this virtual machine after creating the image.
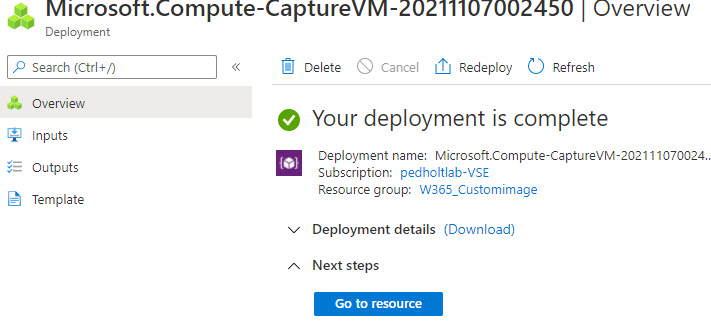
Upload image to Windows 365
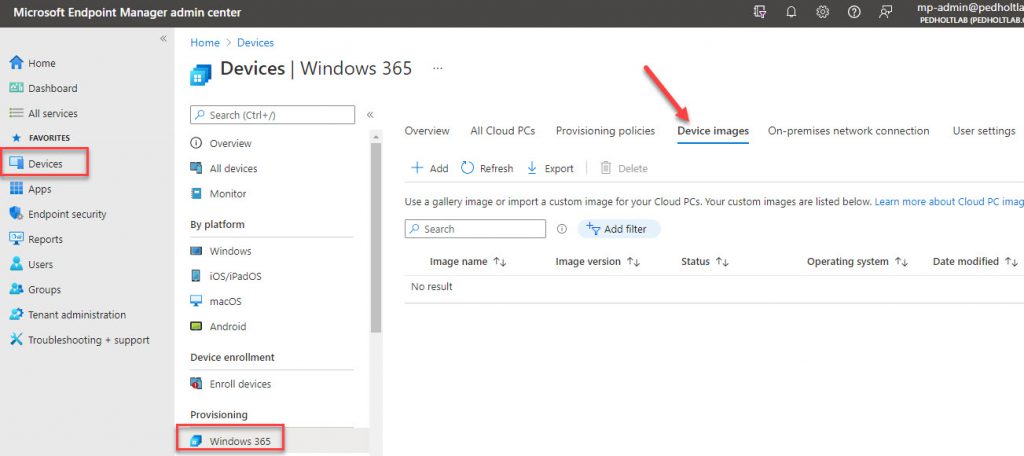
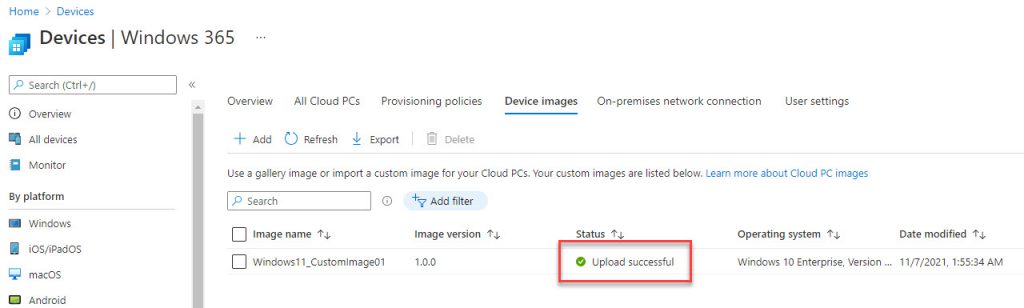
Once the creation of the image is done, go to Device Images at https://endpoint.microsoft.com.
Here we can add the custom image and use them in our Provisioning policies.
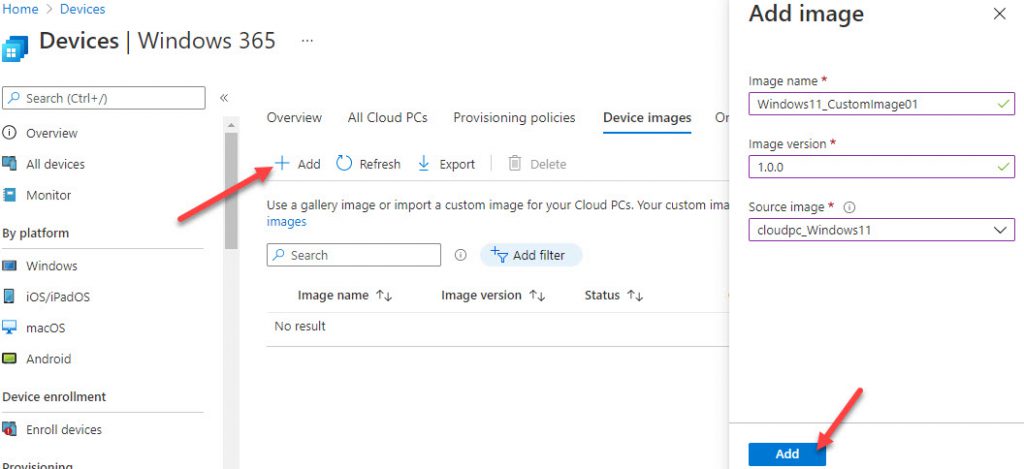
To add a new image, click on Add. You’ll need to specify the Image name, Image version, and Source image. When done, click on Add. The upload process will take some time, around 30 minutes.
Deploy Cloud PC with custom image
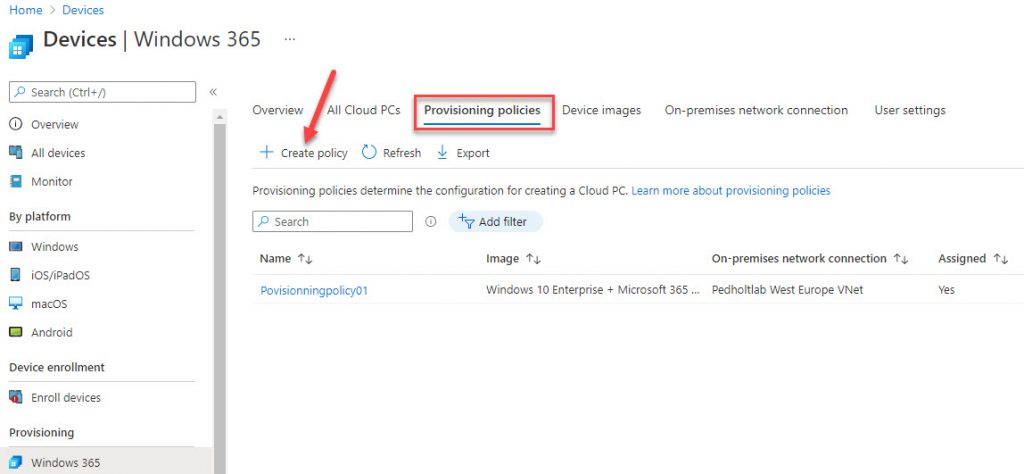
Once the image has been uploaded, it’s time to create a Cloud PC with the new image. This can be done by modify an existing or create a new Provisioning policy. I’ll make a new Provisioning policy.
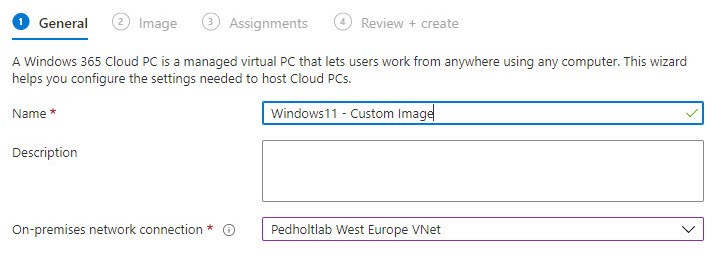
Provide a name for the provisioning policy and choose the On-premises network connection that is created for the Cloud PC to use.
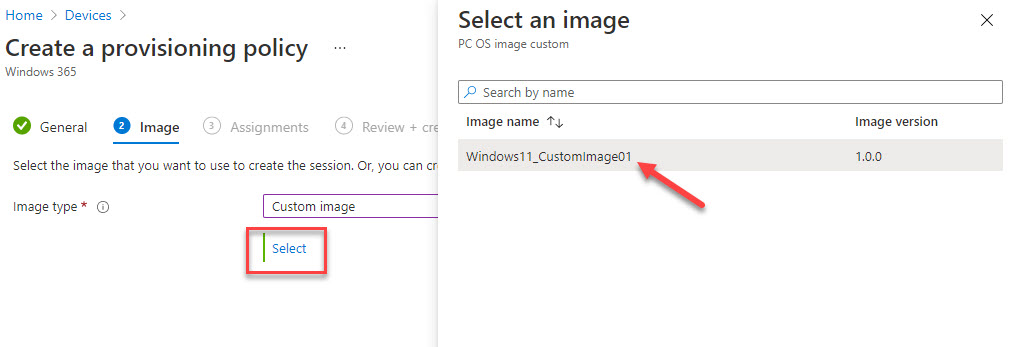
Select Custom Image
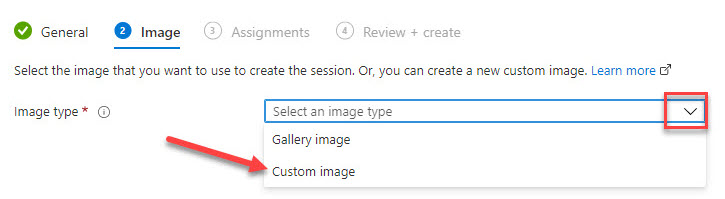
Click on Select and choose the image you uploaded earlier.
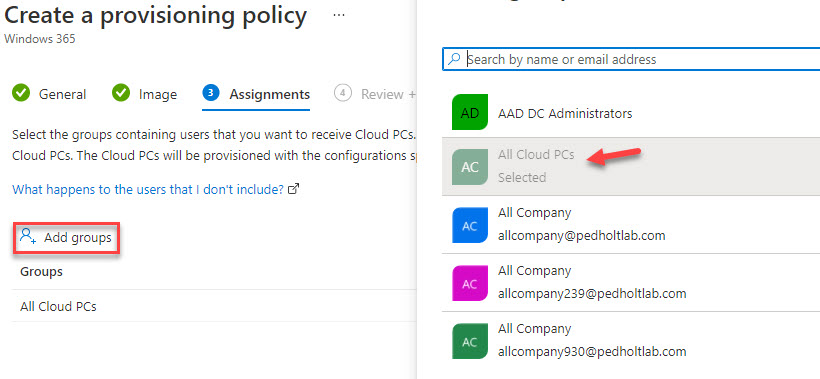
Click on Add Groups and select the group where the licensed users are in.
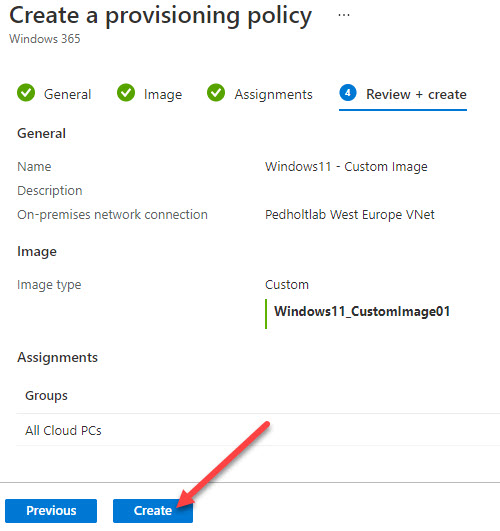
When all settings has been provided click on Create.
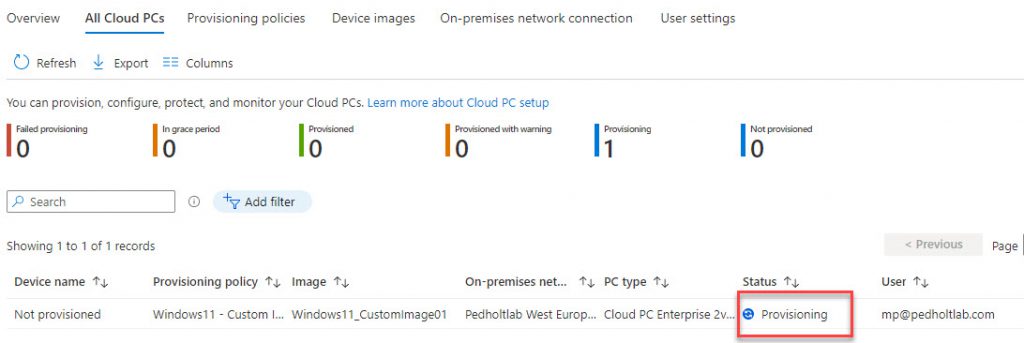
Once the provisioning policy is created a Cloud PC will be created for the users in the group.
It takes up to one hour before its done.
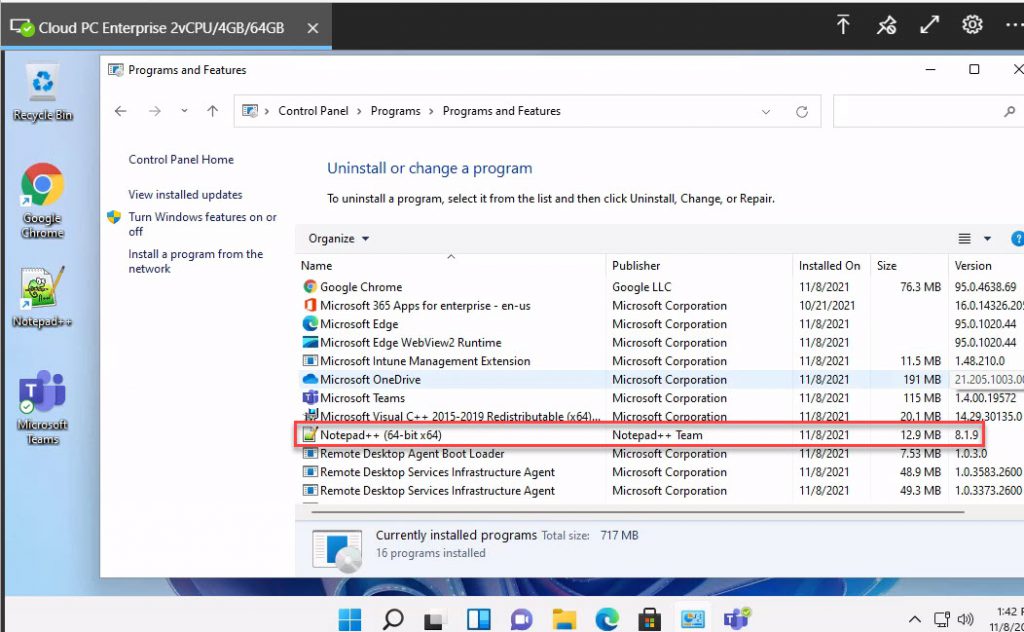
After the CloudPC has been created, lets try to login at https://windows365.microsoft.com and take a look if NotePad++ is there.
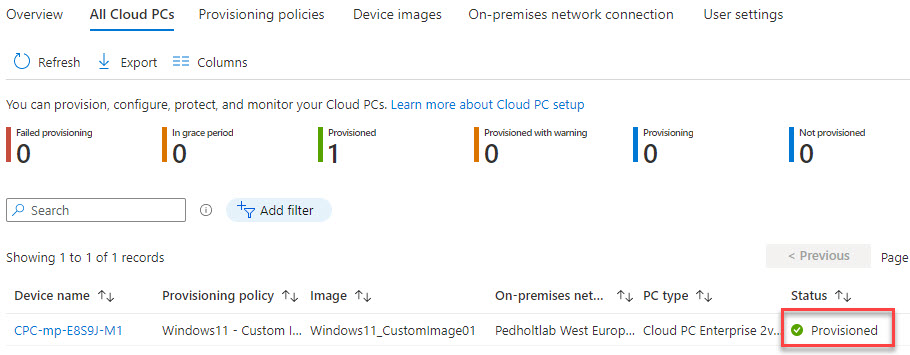
As lucky as we are Notepad++ is there.
Final Thoughts
The ideal way to manage a Cloud PC would be to use Microsoft Endpoint Manager(MEM). This is a very flexible and easy way to control settings, apps, etc. There might be situations where using an image with custom “default” settings would make sense before the cloud PC gets enrolled into MEM. This could, for example, be language packages or programs.